return to the MAIN IMAGING page
22 Jan 2005. The date of my first contact with sky imaging. The customer
(Meade Corporation) claimed that DSI allows capturing good images from the very
first night. Would this be true? Being more realistic, I expected a lot of
problems (I can be new in this topic, but at least I am pragmatic), and the sky
conditions were in addition unfavourable. The telescope is an F/D 10 optical
system, so I tried to increase the luminosity as much as I could by coupling a
focal reducer/field flattener to F/D 6.3, that I use most of time for visual
deep sky. It was not enough, and I am afraid that a reducer to F/D 3.3 will be
necessary in the future. The images below were taken at F/D 6.3, which was
demonstrated excessive. Not only the CCD field was too narrow (10'x8'), but
also introduced problems by magnifying small tripod tremors, which makes
tracking more critical and tends to yield too dark images. To complicate a bit
more the panorama, the Moon was near full phase. For this reason, the results
will likely be much better in dark conditions.
A number of drawbacks made this first
imaging session challenging:
 (1) The
Moon, virtually in full phase, was high in the Sky. Also parasite lights were
very annoying, since I took the images from a roof located inside a village.
The combined sky glow made impossible to take long exposures.
(1) The
Moon, virtually in full phase, was high in the Sky. Also parasite lights were
very annoying, since I took the images from a roof located inside a village.
The combined sky glow made impossible to take long exposures.
(2) The
autoguiding facilities of the Autostar suite are not available for an LX200
Classic. It is possible to install a generic platform for telescope control
(ASCOM) with GuideDog software to correct guiding, but I had not installed it
yet and I am not sure whether finally I will need it: short shots can be post‑processed,
and I can send orders to the RS232C port with Index (or Windex
in the near future) and other software.
(3) Fortunately,
I found that the accuracy of tracking was excellent, except for wind effects
that spare some intermediate images. I made a first assay of offline
corrections in M3 by discarding moved shots to process only the best ones.
These good shots were corrected for accounting minor drifts and stacked into a
final image, and the results were very nice. Therefore, this will be the
solution to assay in depth in next sessions.
(4) Besides
the Moon interference, the most serious problem I found was mount vibrations. I
discovered in the morning that the telescope was not firmly screwed to the
superwedge and sudden wind gusts may have introduced minor movements that were
evident as small trails in the images. The high magnification made worse the
effects of transitory shaking. This is another reason to reduce the focal
length.
(5) The
field of view was too small ‑although enough- for getting images of
faint objects. However, I wish to have had less focal
 length to access to brighter images, larger
fields of view and finding the objects without the need of removing the CCD
from the telescope. It is not strictly necessary since I dealt with these
problems fairly well, but the operations would had been far more easy in the
case I have disposed of them.
length to access to brighter images, larger
fields of view and finding the objects without the need of removing the CCD
from the telescope. It is not strictly necessary since I dealt with these
problems fairly well, but the operations would had been far more easy in the
case I have disposed of them.
(6) Inexperience
increased the consequences of these problems. The working parameters of the
software had to be fine tuned to get optimal results. As so many things, it is
a matter of practice: with time and patience, assaying configurations, the
results will be enhanced.
(7) Image
processing techniques have not been applied except for accounting bright and
contrast, at a bit of Photoshop in some cases. Better techniques will dig out
more information.
Step 1 - RAW
IMAGES IN MOONLIGHT CONDITIONS - the
Moon was 89% illuminated !!!
The images shown below are
only pre-processed in most cases (dark‑subtracted)
The Moon was gigantic. I should have
waited a couple of weeks, but I felt too curiosity. In addition, I was
recovering from a flu episode as many citizens here. My intention was coupling
all the equipment and taking some preliminary shots to have a first contact and
learn what to improve (PC-telescope connexions, software, etc). I planned to be
exposed to low temperatures no more than 3 hours, but everybody knows that
imaging is tremendously addictive... I stayed finally all the night at a
temperature well below 0ºC. Not necessary to say that the flu was
"reactivated".
I have learned from the session that I
must reduce the focal length even more. A flip‑mirror system to
facilitate the centring without disturbing the focus would also be appreciated.
The parfocal ring is of good help, but fine focusing is always needed after
removing the imager. In fact, focusing was particularly critical and delicate.
The eye magic system results difficult to use in practice, since the telescope
shakes as the focus is turned. I want to try a Hartmann mask to get a more
accurate focus in the next imaging session. At the moment of writing these
comments, I have contacted to the Meade distributor in Spain to purchase the
Meade 3.3 focal reducer (and a piggyback support), and I hope to receive them
in a few days.
Let's go to what the DSI can make in
full moon conditions...
|
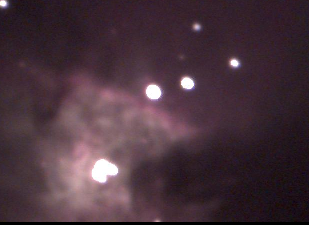
The core of the Orion Nebula (a single 30 sec. exposure) Not surprisingly, it was the first object tried. I
was puzzled since I could not get bright images: the image contrast and
shadow enhancement were not properly set and the nebula was near invisible in
those conditions.
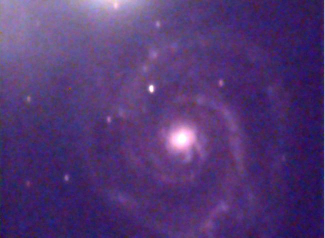
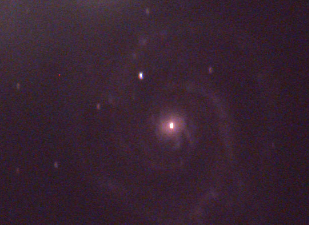
M51 in adding three 15 second exposures The Moon did not allow taking long exposures, but in
spite of this the spiral structure of M 51 was easily registered. The
brightest star is 13.5m, and the faintest exceeds 15m
|
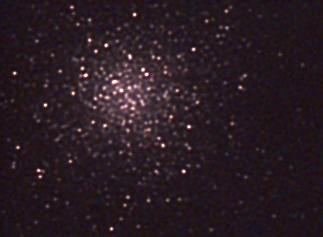
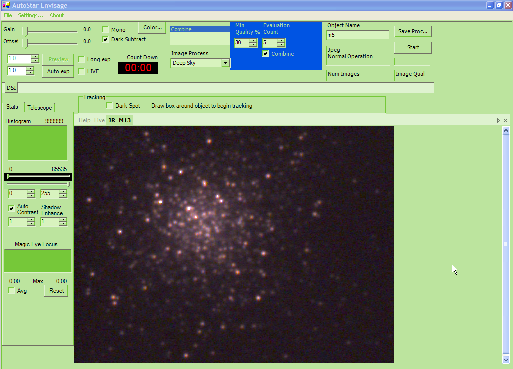
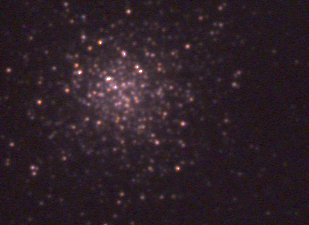
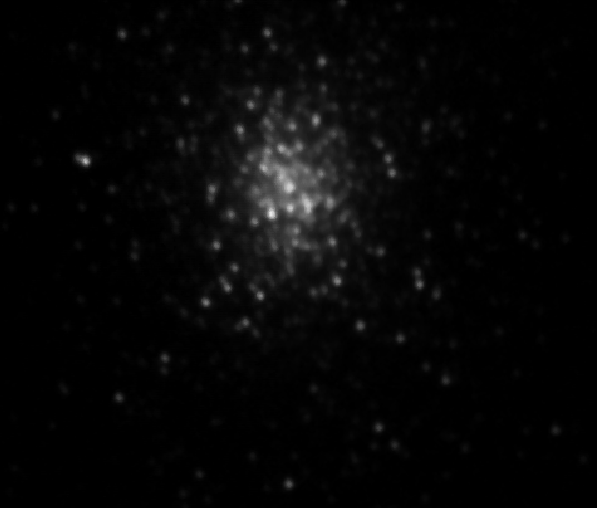
M13 in a 15 seconds exposure This was an amazing experience: seeing in the screen
color images of globular clusters completely resolved in just a few seconds.
It seemed magic. Visually the image was far poorer owing to the Moon glow.
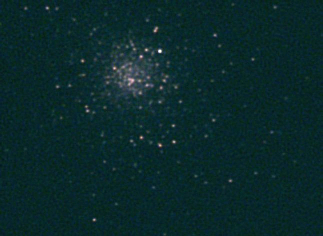
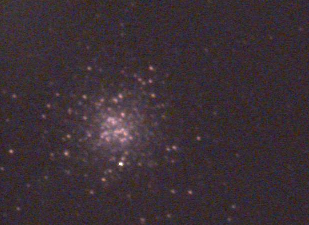
M 53 adding two 15 second exposures I tried some other globular clusters in all cases
with surprisingly satisfactory results, but this was particularly easy. The
small vibrations wasted, however, some trials.
|
|
The flat system NGC 4565 (four 10 second shots) One of the nicest galaxies in the sky. The moon glow
affected specially to diffuse objects, but in spite of this the equatorial
dark lane was apparent. Not bad.
|
The splendid M 5 (two 10 second exposures) During some time the wind disturbed the tracking and
I had to reduce the integration time. This happened on the exposure of M5 in
Serpens Caput.
|
|
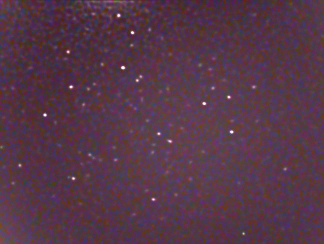
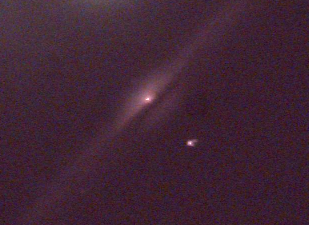
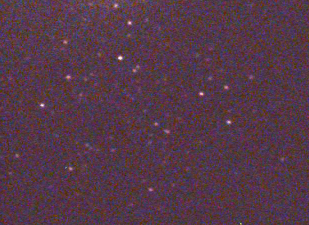
NGC 5053 (20 sec shot processed
with Photoshop) The core of the sparse globular cluster in Coma
Berenices close to M 53, that lacks of central condensation. Stars exceeding
15 magnitude are visible, but the object is so magnified that seems just a
normal star field.
|
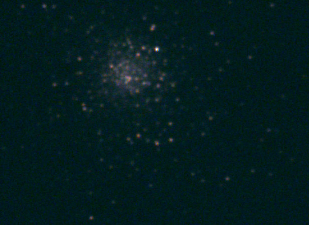
M3 offline processed (3 shots drift-corrected and stacked) This picture was
obtained by applying Registax to 3 shots to M3
with wavelet transform to bring out faint stars
|
Step 2 - SOME POST-PROCESSING ON THE FORMER
IMAGES
The effects of the moonlight leave few
opportunities to enhance the images. A small processing, however, can reveal
some features hidden in the images above. The following pictures were aligned
and stacked, level‑corrected, background modelled and subtracted (as best
as I could), unsharpened, and deconvolved with a maximum entropy algorithm. The
most evident consequence is a better perceptibility of low contrast structures
and a general rising of minute stars, which exceeds 16 m. The software used was
Photoshop 6.0, the 1.0 release of PixInsightLE, and a demo version of Maxim DL. No single software was able to resolve
all problems. Anyhow, I would recommend PixInsight to most users owing to its
accuracy and powerful processing abilities. The enhancement achieved in M51 is
awesome.
|
M 13
|
M 5
|
|
M 51
|
NGC 5053
|